Our Gmail Bot supports you to change your Gmail password in bulk quickly. Moreover, the software also integrates other functions such as rename Gmail, change Gmail avatar, and check login. Gmailprofile is a great tool for Gmail managers.
Oustanding features of Gmail bot
- Change gmail password/ name in bulk automatically
- Change Avatar of gmail/google account
- Check gmail login
- Enable Imap/Pop3
- Change recovery email
- Emulate thousands of device’s browsers
- Support proxy
- Support multi-threads
- Unlimited accounts
Why do you need to use this gmail bot?
- Save your time.
- Avoid being banned on Google because of logging in too many gmails on the same IP or device.
- Manage thousands of accounts without headache.
- Save money..
How to use this gmail bot?
Follow this video to learn how to use this software. If you have any question, contact us.
A. How To Download Gmail Bot – Change Gmail Password In Bulk
When you buy GmailProfiler software, we will provide you with 3 links, consisting of software link; desktop useragent file and mobile useragent file. Download all these files and unzip the GmailProfiler.rar, then run the .exe file to open the software.

Use the provided license username and password to fill in Login and Password.
Click OK to login.
B. Instructions of each function – Change Gmail password in bulk – GmailProfiler
B1. Run
This is the number of times that you want the software to run. You can leave it as the default.

B2. Threads
The number of threads is the number of tabs, accounts, or windows that run at the same time.
Each thread will open a separate browser which has different fingering and IP. Provide number of threads that complies with your computer configuration.

B3. Action
Select a function on which you want to run the software.
- Change Password
- Check login
- Change Avatar
- Change Name
- Enable POP3/IMP
- Change Recovery Email

B4. Gmail data
>> Refer to this link HOW TO IMPORT DATA to learn how to import Gmail accounts with proxies into the software.
Note: The file which contains Gmail accounts includes: Gmail, password, recovery email, IP, port. You import data as the Template.
B5. UserAgent Desktop
Click on  ==> select the useragent files that were downloaded as mentioned in Section A.


B6. Proxy Option
To avoid being locked out of your Gmail account, you should use proxies.
There are 3 options:
- Dcom
- Account Proxy: Do the same as section B4. Each IP is associated with a gmail account.
- File Proxy: There are 2 ways to import proxies:
- Option 01: Put all proxies into a .txt file, each proxy per line in format: IP:Port:Username:Password. Leave username and password empty if your proxy doesn’t have username and password ( Some proxies work with IP authentication instead of using username and password).

Click => select the text file that contains proxies. And select “LinesFromFile” as shown below
 Option 02: Prepare a website link which contains proxies, then get link into File Proxy and select “LinesFromUrl” as shown below

B7. Cookies Folder
Folder Cookies is a place where the software will store cookies and profiles of the accounts. Software will use cookies and profiles for the next runs without logging back into accounts. Create a new Cookies folder on any hardware disk that you want to save cookies and profile and get the path to put into the setting as shown


B8. New PassWord
Click ![]() in NewPassWord, Generate Lines will display.
in NewPassWord, Generate Lines will display.
- Number 1: You can use Spintax format or select predefined Tips as shown in the following screenshot to create new password.
- Number 2: press @Test to preview in Results.

B9. Avatar Folder
Create a folder which contains images to change Avatar.
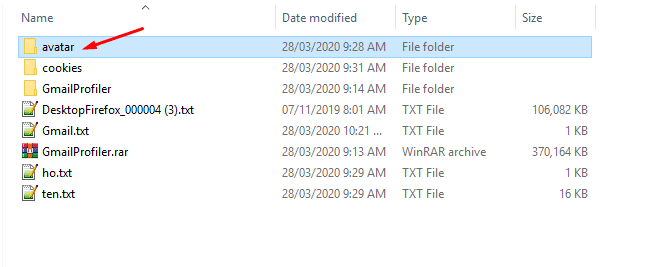
Click => select folder containing images to change Avatar.

B10. First Name
Create a text file (.txt format) containing list of First Name. Each name is a line of the text file.

Click => select the text file which contains list of first name.

B11. Last Name
Take steps as those in B10. First Name.


B12. Recovery email
Create a text file which contains list of the recovery emails. Each email is a line of text file.

Click  => select the text file that contains recovery email.

B13. Key Captcha
You can leave it as the default.
C. How To Run Each Function of Gmail Bot
- Change Password:
At Action => choose ChangePassword. Do the same as tutorial in section B1 to B8 of part B.
- Update new Avatar:
At Action => select ChangeAvatar. Do the same as tutorial in section B1 to B7 and B9 of part B.
- Alter Name:
At Action => choose ChangeName. Do the same as tutorial in section B1 to B7, B10, and B11 of part B.
- Check login:
At Action => choose Check login. Do the same as tutorial in section B1 to B7 of part B.
- Change Recovery Email:
At Action => select Change Recovery Email. Do the same as tutorial in section B1 to B7 and B12 of part B.
- Enable POP3/IMP:
At Action => choose Enable POP3/IMP. Do the same as tutorial in section B1 to B7 of part B.
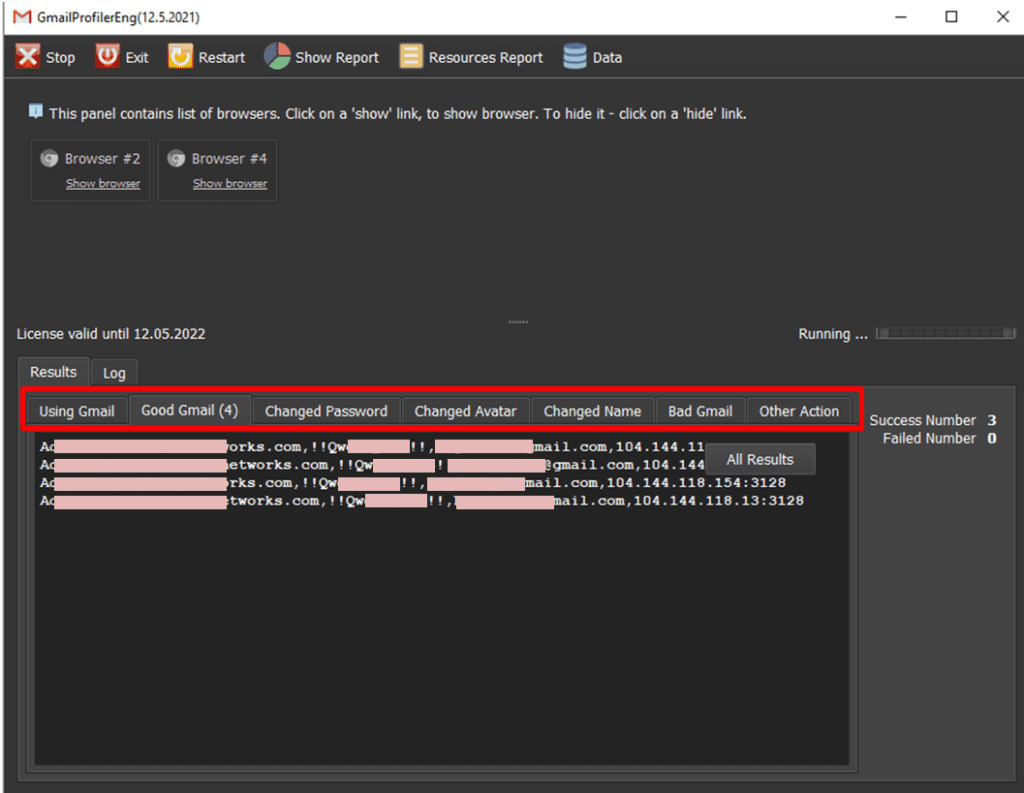
D. Results
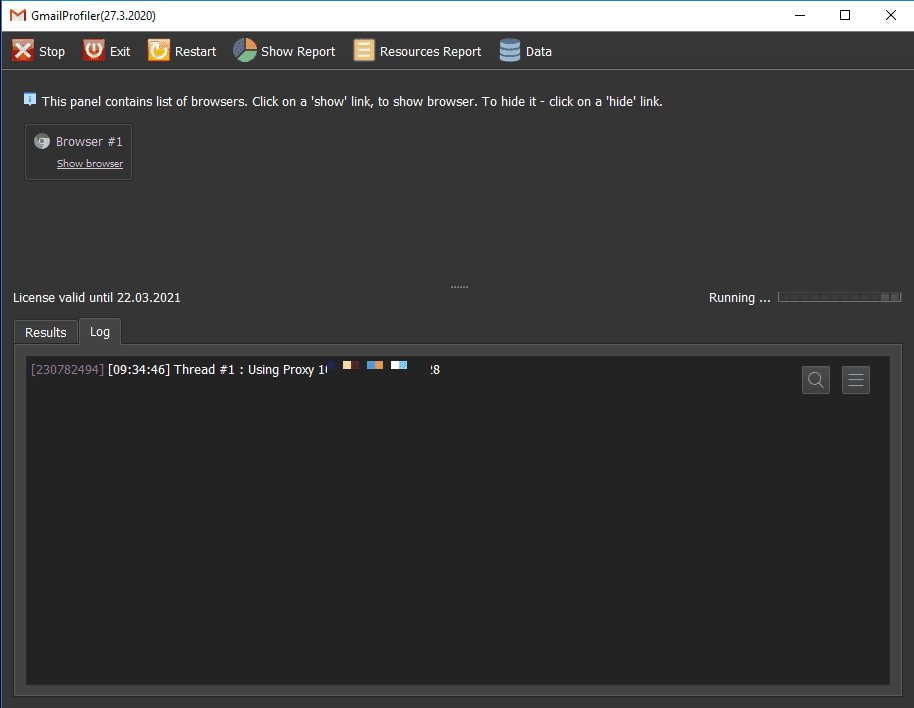
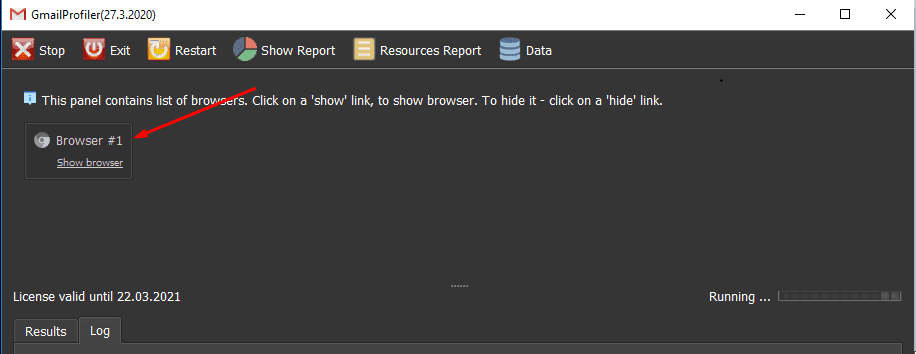
Select Show browser to see the running of the software.
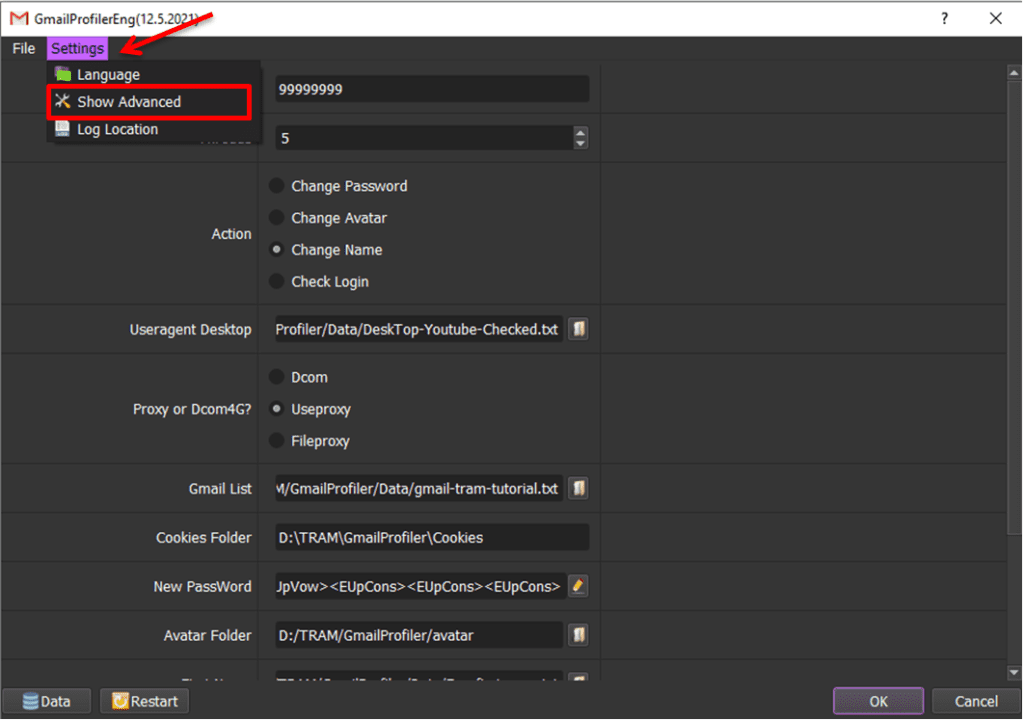
E. Advanced Setting of Gmail Bot
Click Settting => Show Advanced.
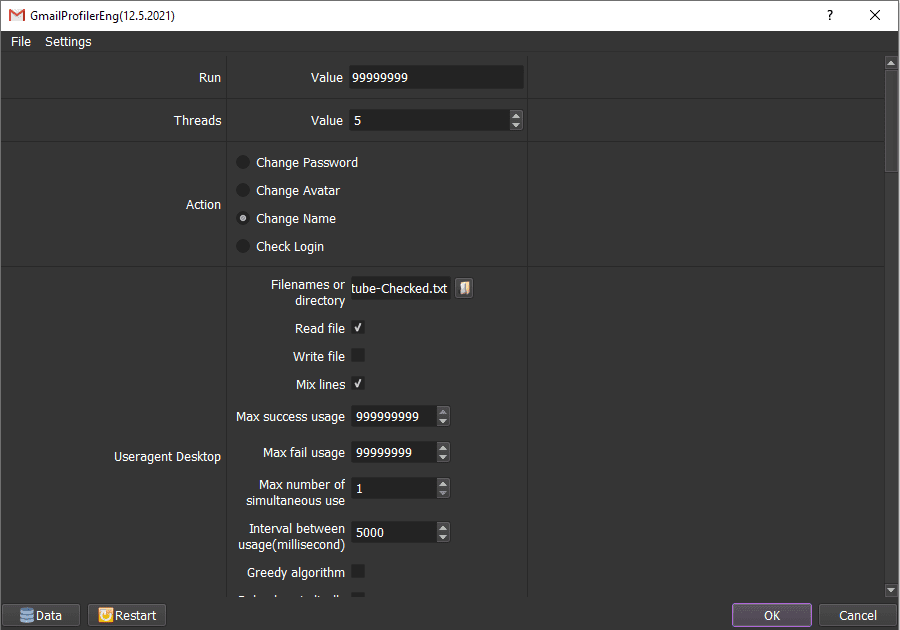
This is the interface of the advanced the gmail bot:
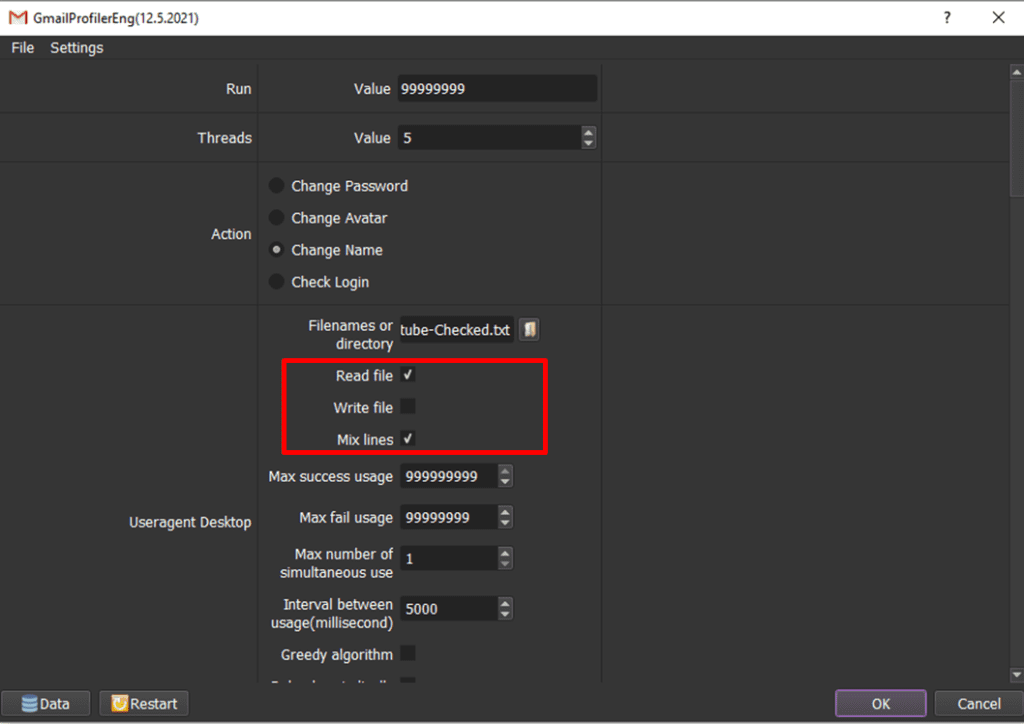
New functions:
- Read file: Run functions from top to bottom
- Write file: Delete Input files
- Mix lines: Run functions out of order
- Max Success usage: Set the number of successful runs.
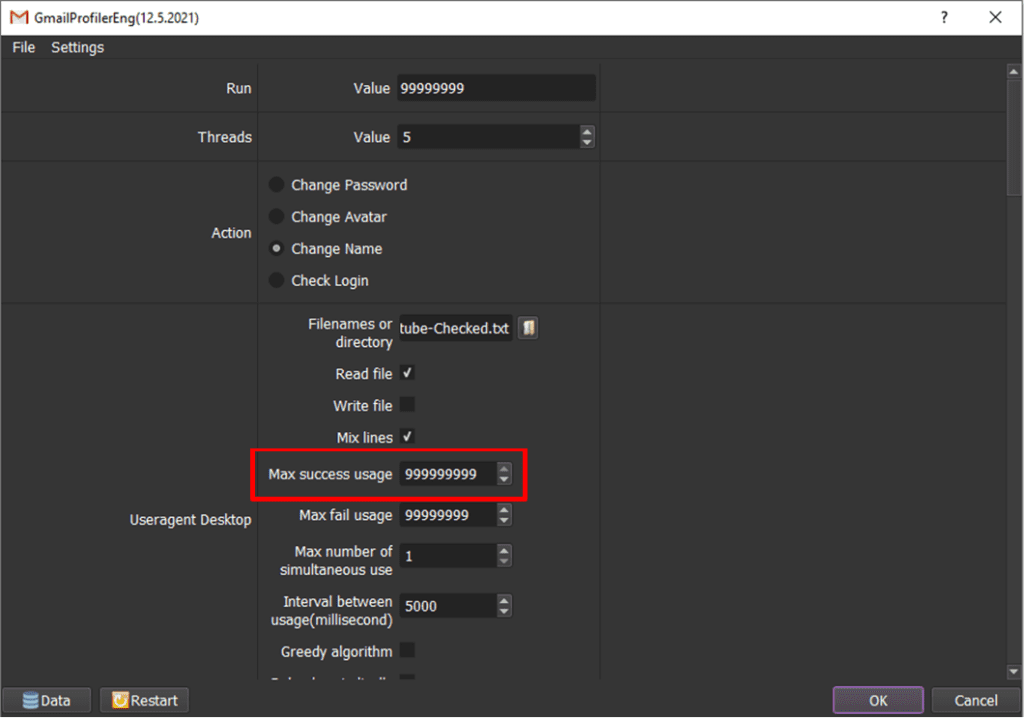
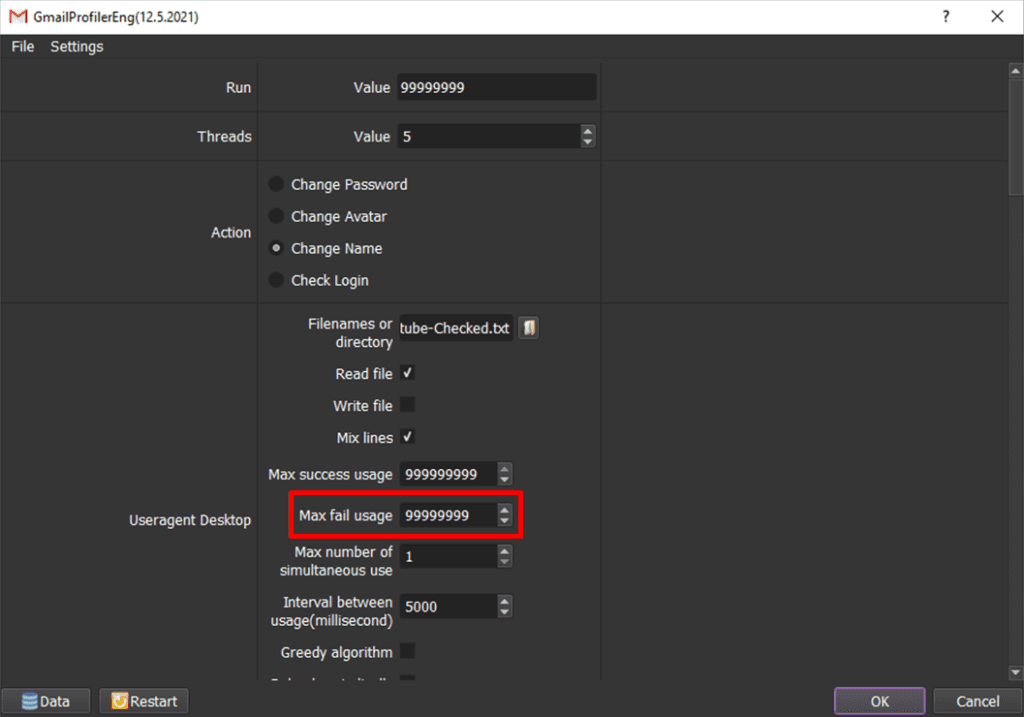
- Max fail usage: Set the number of fail runs. The software will run until the account is successfully logged in or skip the account if the number of times you set is exceeded.
Click OK to run.
Thank you. Hope it is useful!
For more information, kindly contact us at Autobotsoft.com
